Let’s take a look at how you can add new HTML elements to the page.
DocsHow-to guidesDocsHow-to guides2017-11-22
Add elements to the page
As always in Pinegrow, you can add elements in a couple of different ways. Choose the one that suits your task at hand the most.
Open the Library
Open the Library panel.
Library panel contains elements and components (ready-made groups of elements) arranged in sections.
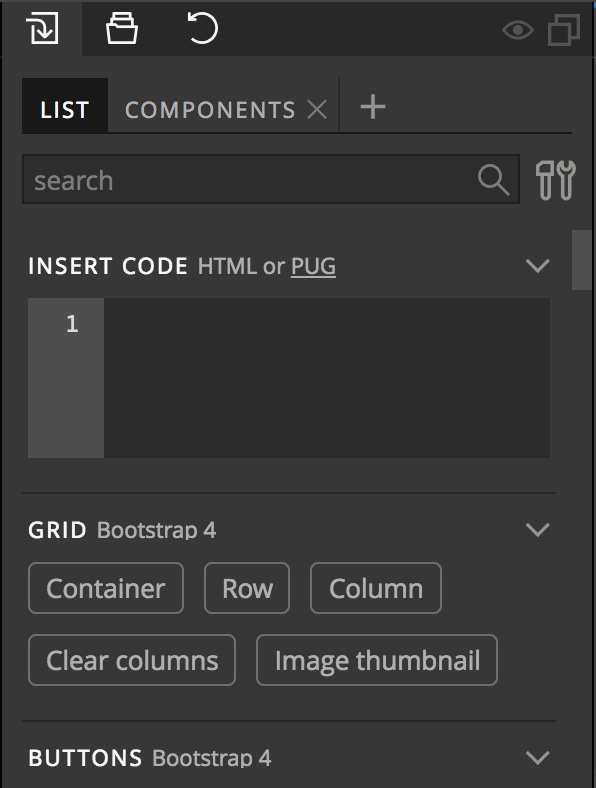
What sections are shown depends on which frameworks and libraries are activated on your page. For example, if Bootstrap support is active a bunch of Bootstrap-related sections and components will be listed in the Library.
Moving the mouse over an element in the Library will show the preview of the element.
Drag element to the page view
Open the Library panel.
Grab the element from the Library panel and drag it over the page.
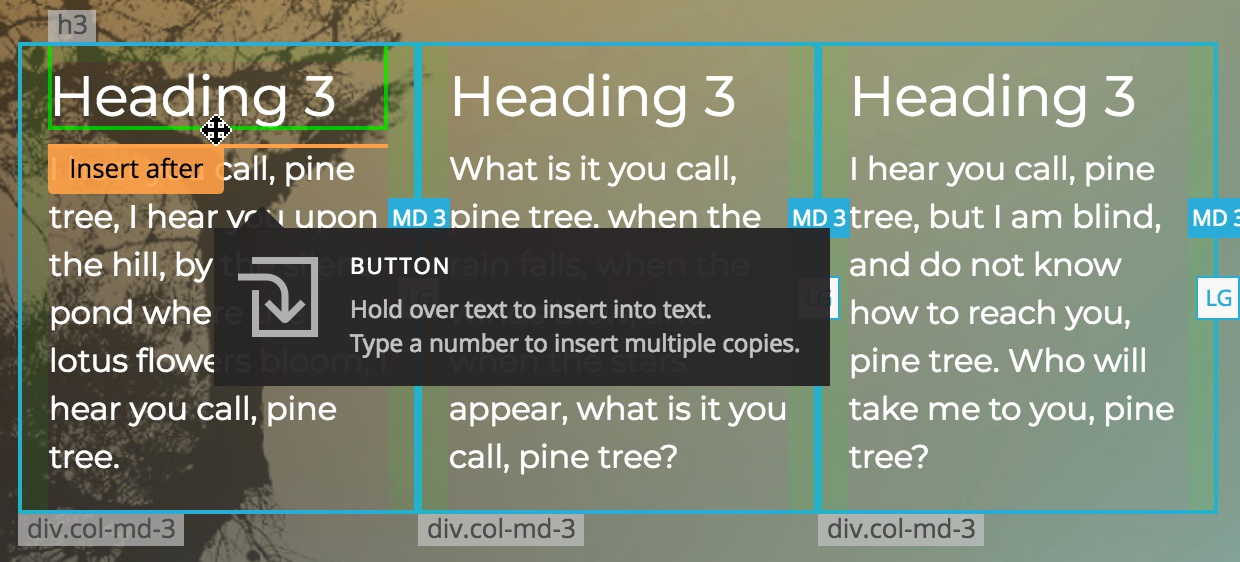
As you move it over the page (while still holding down the mouse button) you’ll see two things:
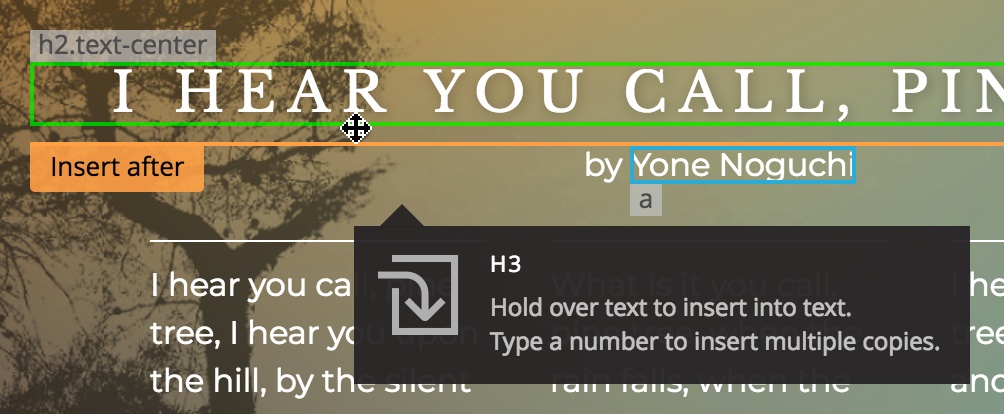
The target element is highlighted with a green border and orange line shows where in relation to the target element the new element will be inserted.
Drop the element at your chosen destination by releasing the mouse button.
You can use Repeater to insert more copies of the element. Type a number before or during the dragging operation with 0 to 9 keys to set how many copies of the element you want to insert.
Press ESC to abort the drag & drop operation without adding the element to the page.
Drag elements to the Tree
Open the Library and the Tree panels.
Dragging elements from the Library to the Tree gives you precise control over the placement of new elements.
Take the element from the Library and drag it over the tree. Insertion line will show the position.
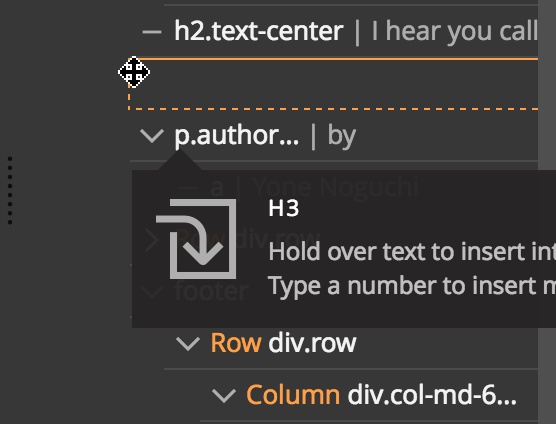
Release the mouse to insert the element at the indicated position.
You can use Repeater to insert more copies of the element.
Press ESC to abort the drag & drop operation without adding the element to the page.
Insert into the selected elements
Open the Library panel.
Selected element is required
You have to select one or more elements on the page to use this feature.
Right click on the element in the Library and choose the placement of the new element in relation to the selected element:
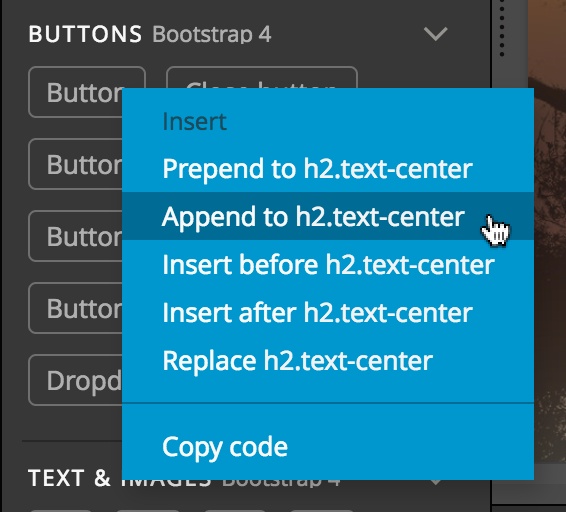
Use Repeater to insert more than one element to the page.
“Insert into selected” Library section
In addition, for some types of selected elements, Pinegrow suggests elements that can be inserted into the element.
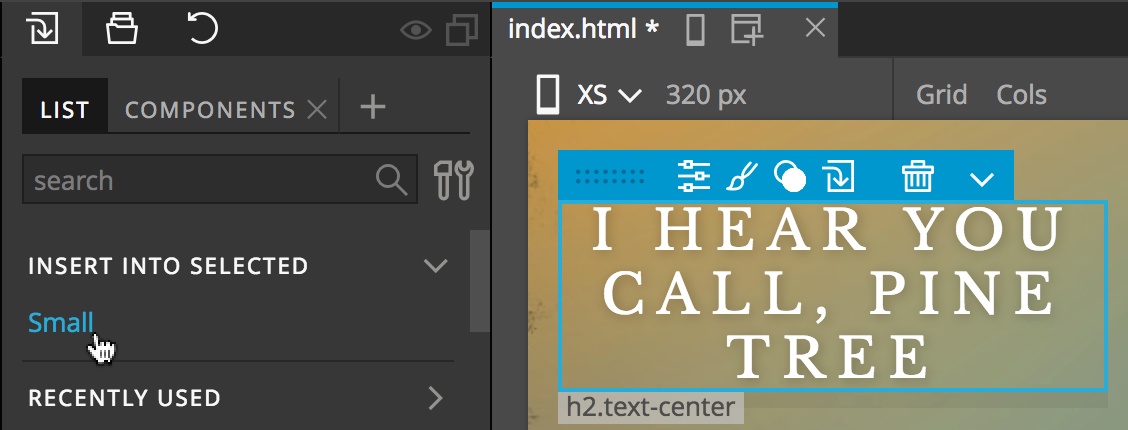
Such suggestions are listed in “Insert into selected” section. To insert such element into the selected element click on the name or right click on the name for more options.
Inserting code
Library panel lets you enter code directly to the page.
Open Insert code section and enter the HTML or simplified Pug syntax for the element you wish to add to the page.
A Library panel element representing the code will appear below the code editor.
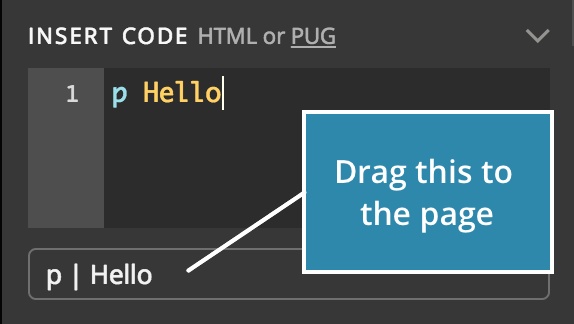
Use it as you would use a normal Library element: drag it to the page, to the tree or use right click to insert it into the selected element.
Quick insert into the selected element
Selected element is required
You have to select one or more elements on the page to use this feature.
You don’t have to keep the Library panel visible at all times.
Click on Insert element icon in the selected element menu or press the + key to bring up the floating Library panel.
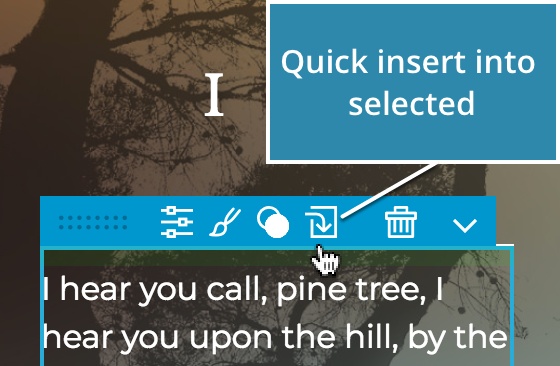
Shortcut Press + to display the floating Quick insert library for the selected element. Use ESC to close the floating Library.
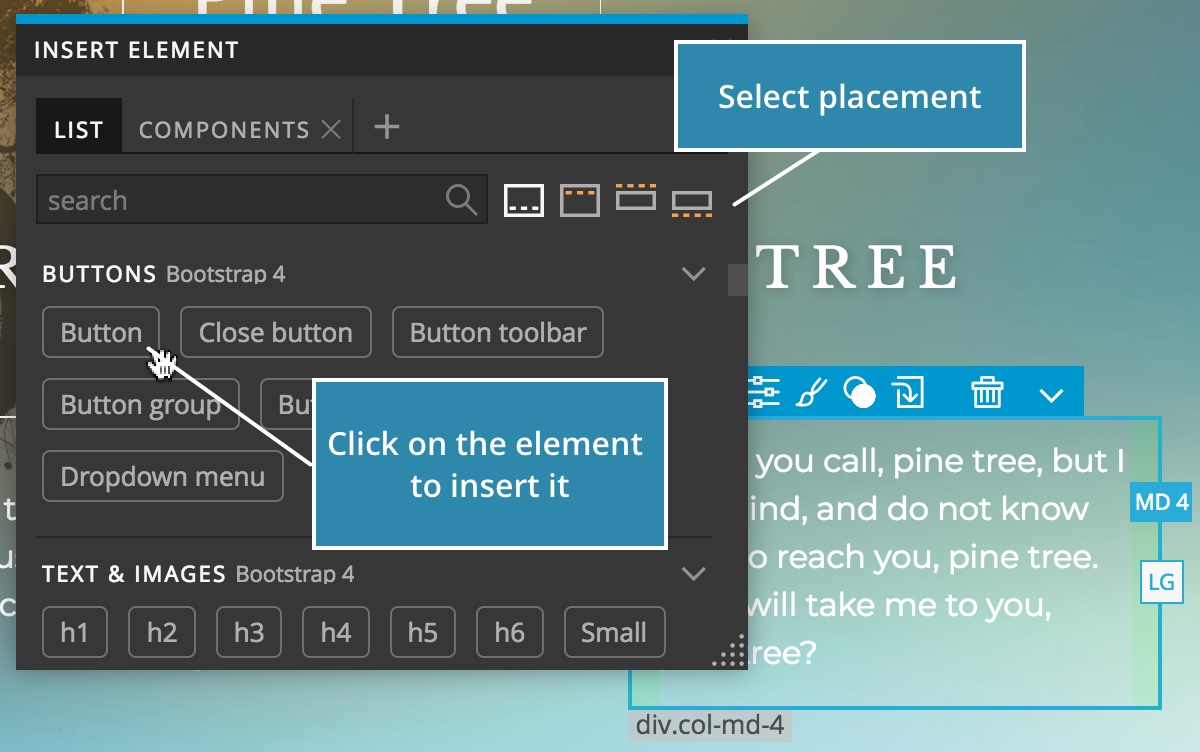
In addition to dragging elements to the page or to the tree, you can also just click on a library element to insert it into the selected element.
Use position icons to chose the placement of the new element in relation to the selected element.
Quick insert into the tree
Open the Tree panel.
Hovering the mouse pointer over the borders between elements in the Tree panel will display orange insertion line at that position. Click when the insertion line is displayed to open a floating Quick insert library.
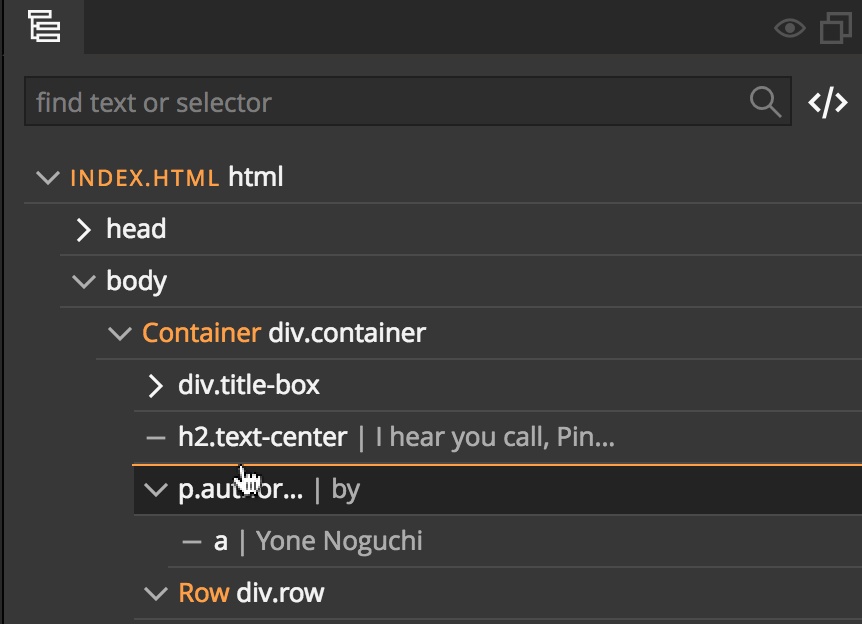
Click on an element in the Library to insert it at the indicated position.
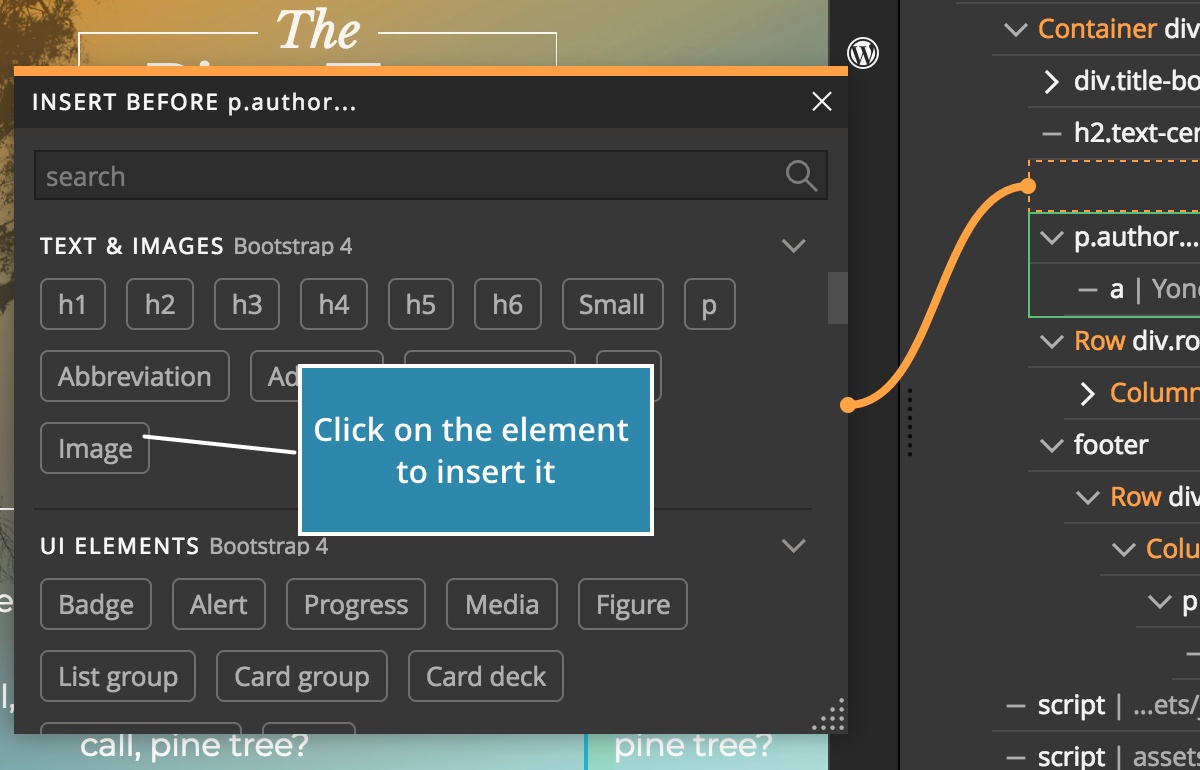
Shortcut Press ESC to close the floating Library.
Using Repeater to add multiple copies of the element
All operations that insert new elements to the page work with Repeater. Just type the desired number before the operation or during a Drag & drop move and Pinegrow will add that many copies of the element to the page.
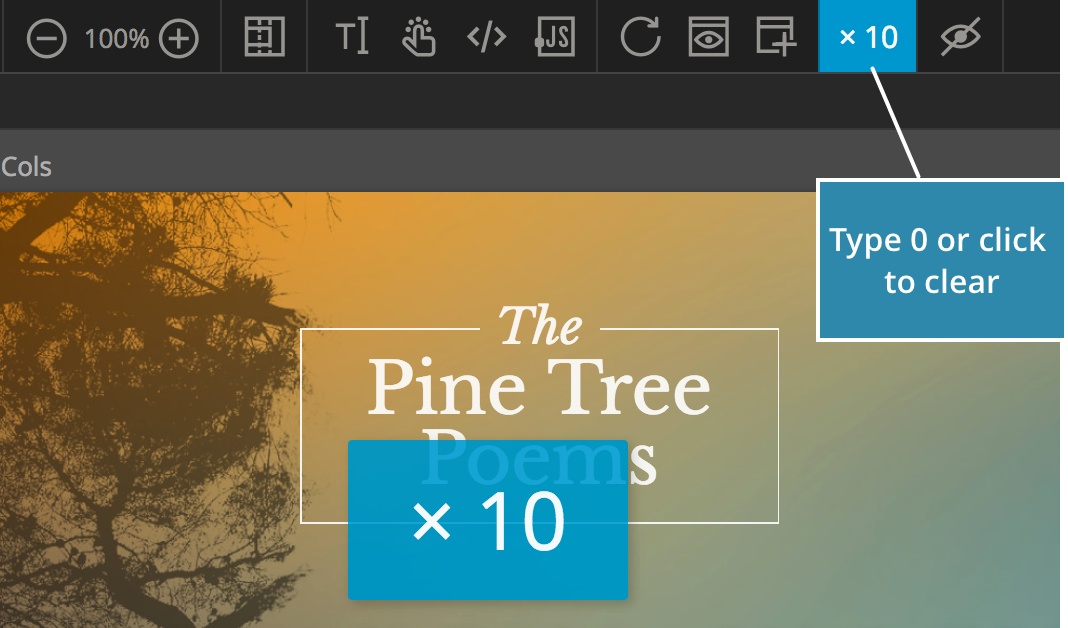
Type a number before the operation with 0 to 9 keys to set how many copies of the element you want to insert.
Smart Drag & drop into the multiple selected elements
Selected element is required
You have to select one or more elements on the page to use this feature.
Let’s say we need to insert a new element into multiple elements on the page. For example, we need to add a button into each of the ten DIVs. With Pinegrow, we can do that with one move.
When you insert a new element into one of the multiple selected elements…
…Pinegrow will analyze the situation and repeat the same operation on all selected elements.